
Today I'll be demonstrating how to back up a wordpress blog to Amazon S3 storage using the free version of the BackWPup plugin. If you are already hosting your wordpress site on AWS, then backing up to S3 makes sense. S3 is a robust, secure and easy to use cloud storage solution. S3 is not free but pricing is fairly reasonable.
BackWPup is a nice little plugin that supports backup of wordpress to a number of destinations, including Dropbox, FTP and Amazon S3. The S3 integration works very well once the configuration is complete. They have both a free version with limited features and a supported version with many more. BackWPup also supports Amazon Glacier which may be more cost effective, however this feature is only available on the PRO version.
In order for the plugin to work properly and for the S3 setup to be secure you need to use a combination of S3 bucket policies, IAM policies, groups and users.
In this article we'll be configuring a complete backup of a WordPress multi-site installation including database, files and plugins. I will assume that you already have signed up for an AWS account. Lets go….
Step by Step
Click on MySites > Network Admin > Plugins > Add New. Search for BackWPup and click "Install Now".
Once the plugin is installed, click on "Network Activate"
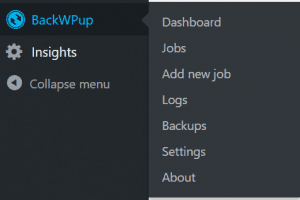
Click on My Sites > Network Admin > Dashboard. When activated you should see a BackWPup menu in the sidebar.
AWS IAM Setup
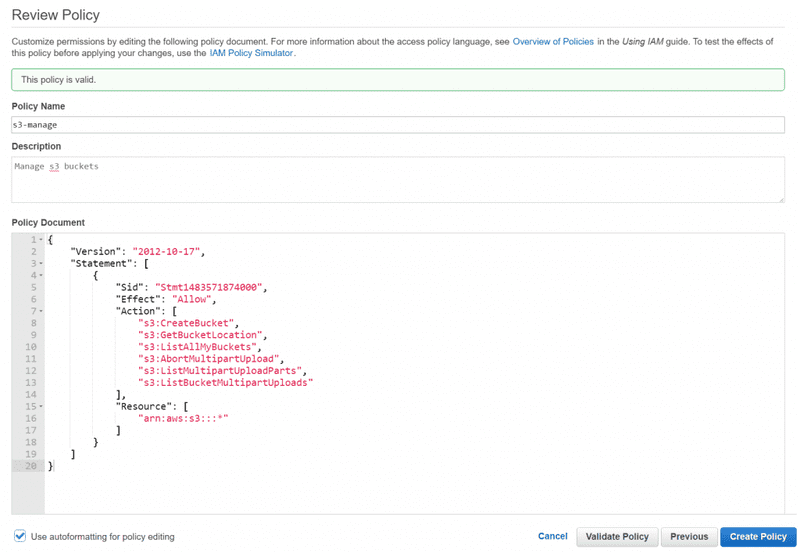
First we'll create an IAM policy that lets the BackWPup create, list and upload to s3 buckets in our account.
Navigate to the AWS IAM system and click on Policies > Create Policy
Click on Create your own policy

Create a policy that allows s3 bucket management called s3-manage. Fill in the fields as below and click Validate Policy then Create Policy.
Now we'll create a user group that has this policy attached. Go to AWS IAM and click on Groups > Create New Group. Call the group wordpress and click next

Search for the s3-manage policy that we created earlier and select it.

Click next, review the changes and create the group.
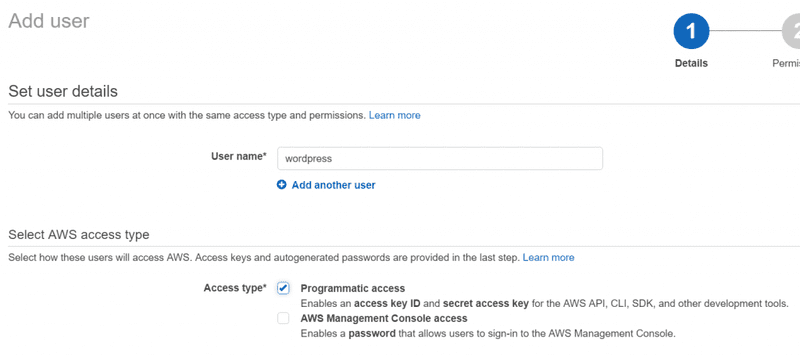
Next we'll create a new user that belongs to the wordpress group and can access s3 in our account. In IAM click on Users > Add User. Call the user wordpress and give the user programmatic access.
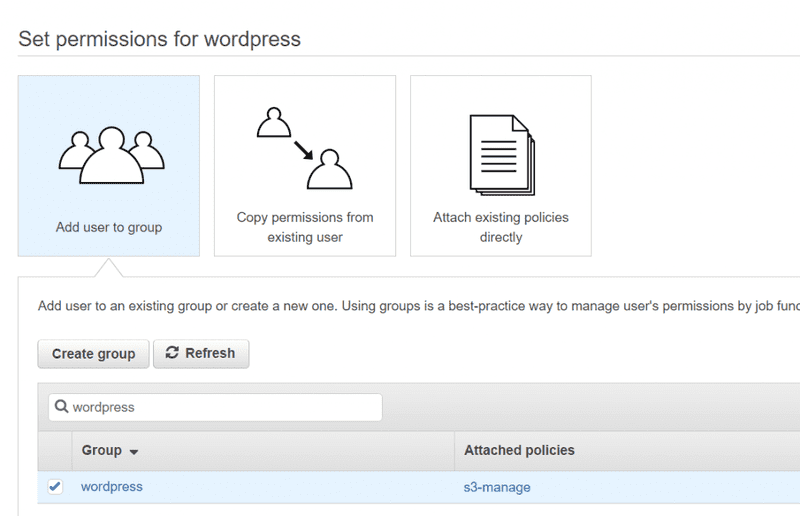
On the next step, search for the group we created earlier and add the user to group...
On the last step AWS will display the new users Access Key and Secret Key. Take note of these for configuring the BackWPup plugin later. Also take note of the users arn (e.g. arn:aws:iam::[youraccountid]:user/wordpress). We will use this for creating the S3 bucket policy later.
S3 Bucket Setup
Next we'll create the S3 bucket and add a bucket policy to control access to it. In the AWS Console navigate to the S3 and create a bucket called com.yoursite.wordpressbackup
Click on Properties > Permissions > Add Bucket Policy

Enter the following bucket policy into the dialog. This policy will allow the wordpress user to list the contents of the bucket and put, get and delete objects. Note: The resource property should contain the arn of the bucket you created, and the Principal should contain the ARN:
{
  "Version": "2012-10-17",
  "Id": "Policy1483571552699",
  "Statement": [
    {
      "Sid": "Stmt1483571510816",
      "Effect": "Allow",
      "Principal": {
        "AWS": "arn:aws:iam::youraccountid:user/wordpress"
      },
      "Action": "s3:ListBucket",
      "Resource": "arn:aws:s3:::com-ginocoates-wordpressbackup"
    },
    {
      "Sid": "Stmt1483571549812",
      "Effect": "Allow",
      "Principal": {
        "AWS": "arn:aws:iam::youraccountid:user/wordpress"
      },
      "Action": ["s3:DeleteObject", "s3:GetObject", "s3:PutObject"],
      "Resource": "arn:aws:s3:::com-ginocoates-wordpressbackup/*"
    }
  ]
}
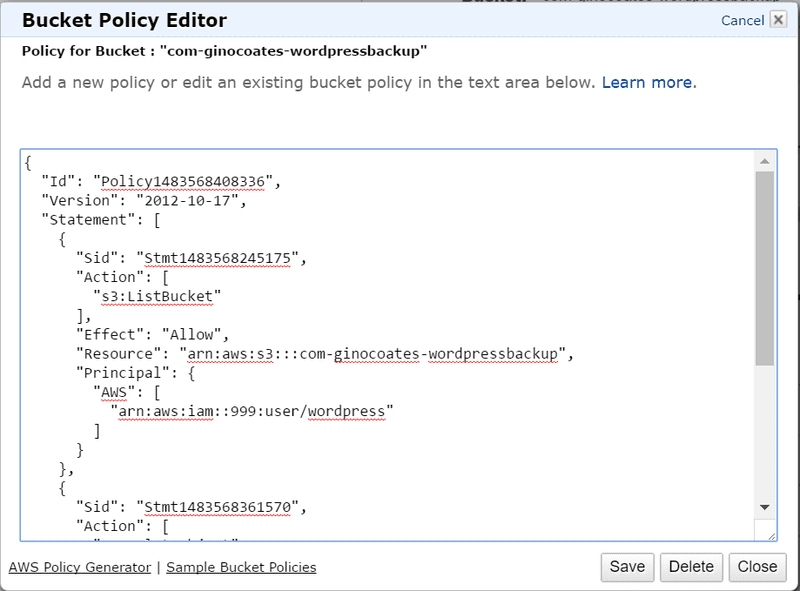
Click save and S3 has now been secured for access by the wordpress user.
Configure BackWPup Plugin
Now we are ready to configure the backup plugin to talk to S3. Let's create a job and configure it. Back in your Wordpress installation, click on BackWPup > Add Job.
Enter the desired job name

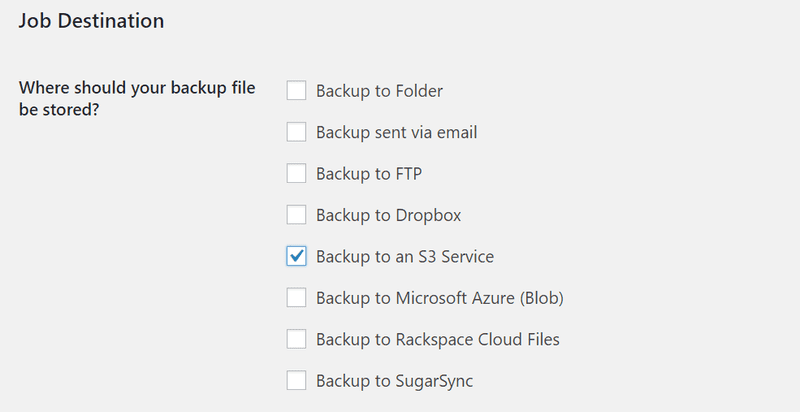
Select the destination as "Backup to an S3 Service"
For now set the schedule to manually so that we can test.

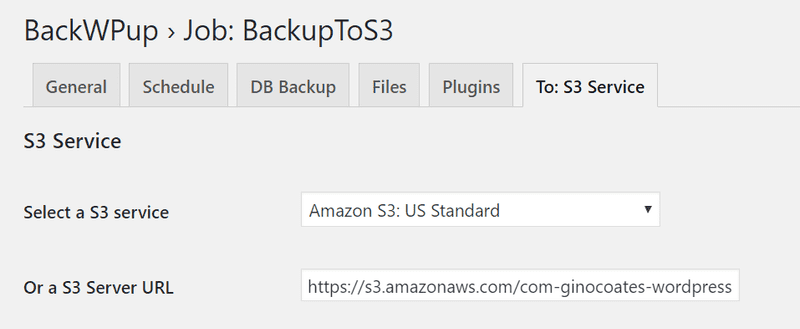
On the S3 tab select the region where you created the S3 bucket and enter your S3 bucket url
Now enter the Access Key and Secret for the wordpress user created earlier

If your settings are correct you should see a list of available buckets in the Bucket selection area. Select the one we created earlier.

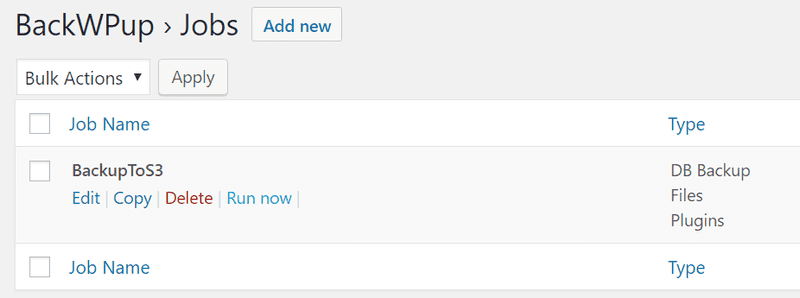
Save settings. Now switch to the jobs screen and run the job.
The job progress will be displayed. If everything is setup correctly the progress bar should reach 100%

Now switch back over the AWS console and navigate to your S3 bucket. Your newly created backup should be available.

Now you can go back to the settings of the job and set the backup to run on a schedule (e.g. using WPCron). Finally, you should take the time to test restoration of your backup to, say, another test site to ensure that if works as expected ;)
Learn more about Wordpress...

